
Workshop Lighting Layout Guide: Fixtures, Spacing and Task Zones
Plan ceiling rows, bench task lighting and machine-side illumination. Learn how to use measurements, beam distribution and shadow checks instead of guessing from lumen totals.
Compare Current OptionsCompare Layout StrategiesAffiliate disclosure: As an Amazon Associate, WorkshopGearGuide may earn from qualifying purchases made through qualifying links, at no additional cost to you. Retailer specification links below are provided for verification and are not represented as Amazon offers.
Quick answer
Start with the work surfaces, not the ceiling. Mark the bench, machines, storage and walking routes. Plan a general ambient layer, add task lights where hands or machinery cast shadows, and measure illuminance at the actual task height. Lumens describe fixture output; lux and foot-candles describe light reaching a surface.
Compare four workshop lighting layouts
These are planning configurations, not four products. Match the layout to the room geometry, the work performed and available electrical installation.
| Layout / best use | Fixture arrangement | Measurement priority | Main limitation | See options |
|---|---|---|---|---|
| Even overhead grid Open floor areas | Parallel rows / even spacing | Check work-plane lux | Overhead light alone can cast shadows at the bench. | See Prices |
| Overhead plus bench task light Assembly and inspection | Ambient plus directed task layer | Measure at task height | Poorly aimed task lights can produce glare and hard shadows. | See Prices |
| Machine-side supplemental light Saw and drill stations | Targeted light beside machinery | Assess shadow direction | Fixtures and cables must not interfere with guards or moving stock. | See Prices |
| Linkable multi-fixture rows Extended work zones | Linked fixture runs | Check circuit and switches | Maximum linked count is model-specific; not every fixture supports linking. | See Prices |
The layouts are alternatives or complementary layers. Check manufacturer photometric files, mounting clearances, electrical requirements and measured light levels before final installation.
Four layout approaches explained
These comparisons describe practical placement decisions, not product tests or guaranteed illuminance levels.
Even overhead grid
Planning approach 1
Layout concept: Parallel rows / even spacing.
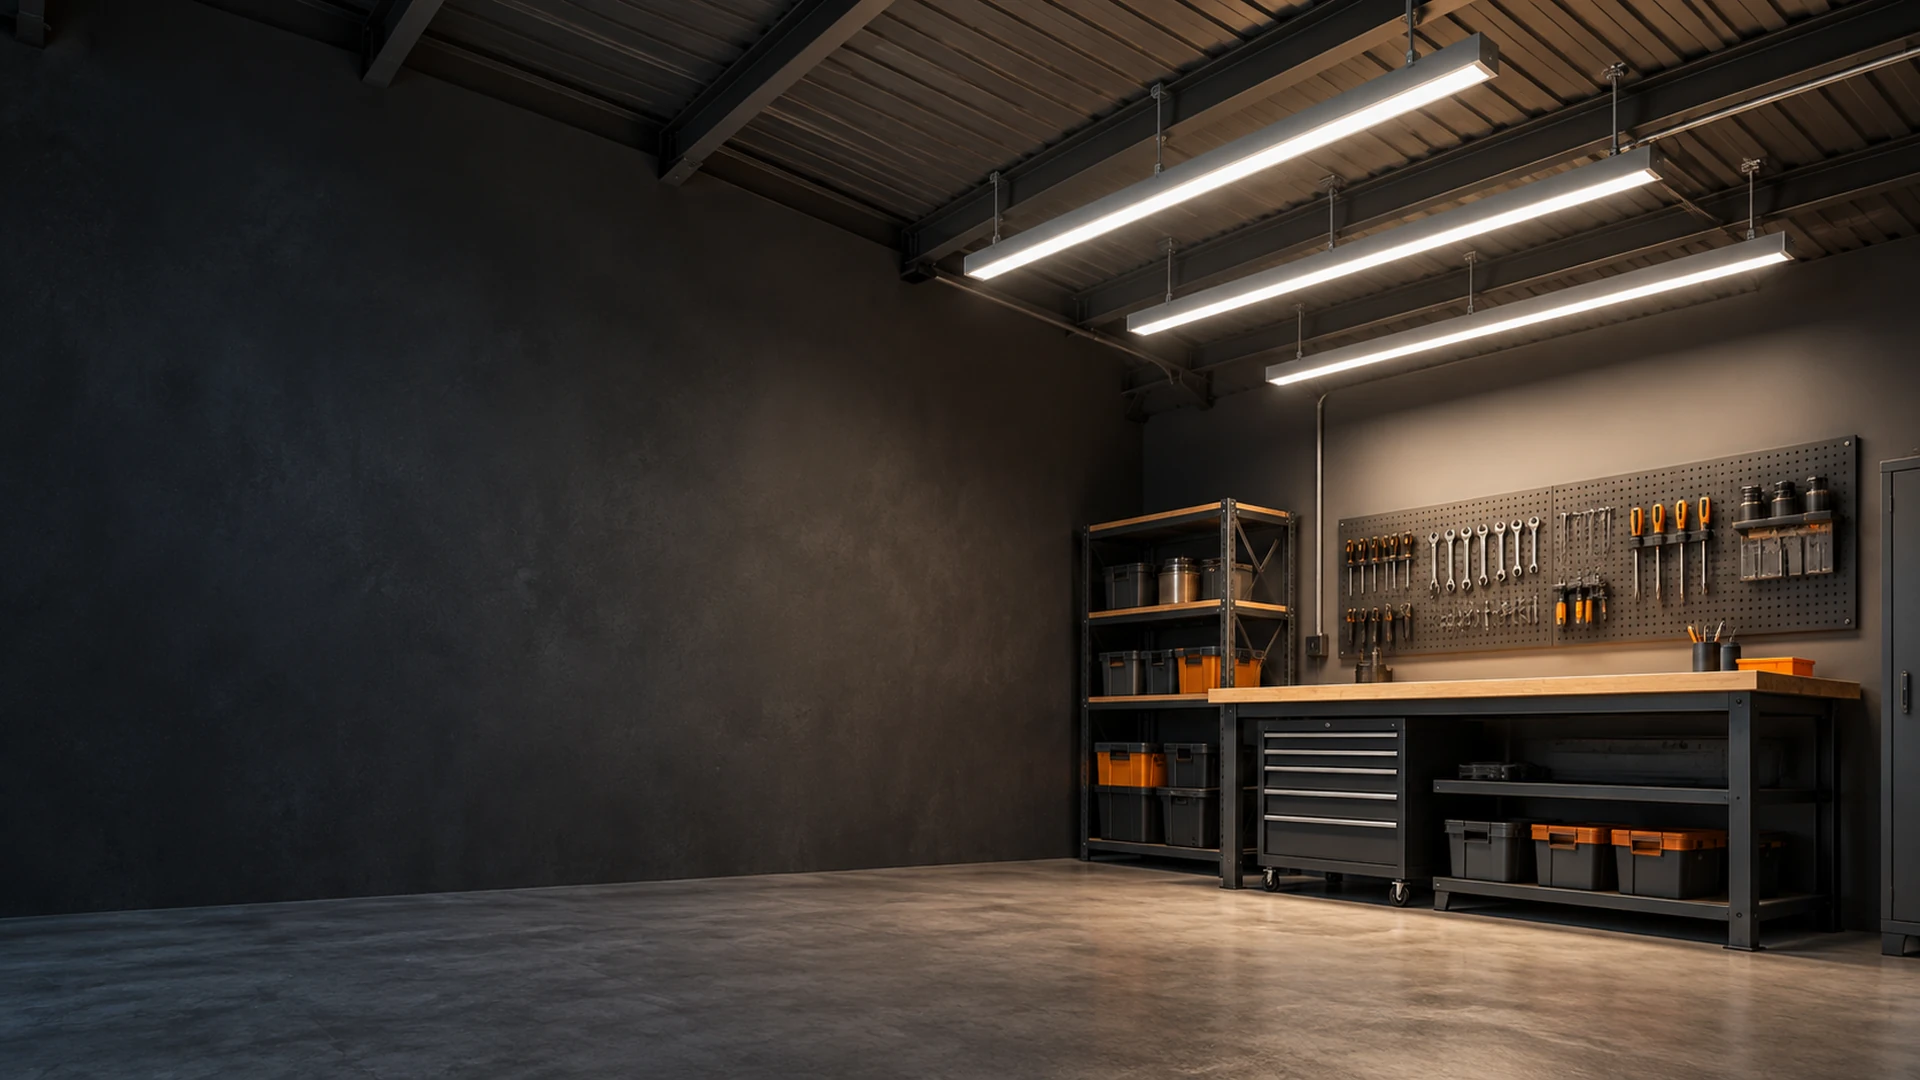
For an unobstructed garage bay, lay out ceiling fixtures in more than one row when the room width and fixture beam spread justify it. Begin with the manufacturer photometric data and measure the result at the work surface. A lumen total alone cannot establish uniformity.
Why use it: Distributes illumination across walking and assembly zones.
Limitation: Overhead light alone can cast shadows at the bench.
Verification: Measure at the actual work surface and check glare, shadows and electrical fit.
Source guidance for even overhead grid. Layout recommendations must be adapted to the room and tasks.
Overhead plus bench task light
Planning approach 2
Layout concept: Ambient plus directed task layer.
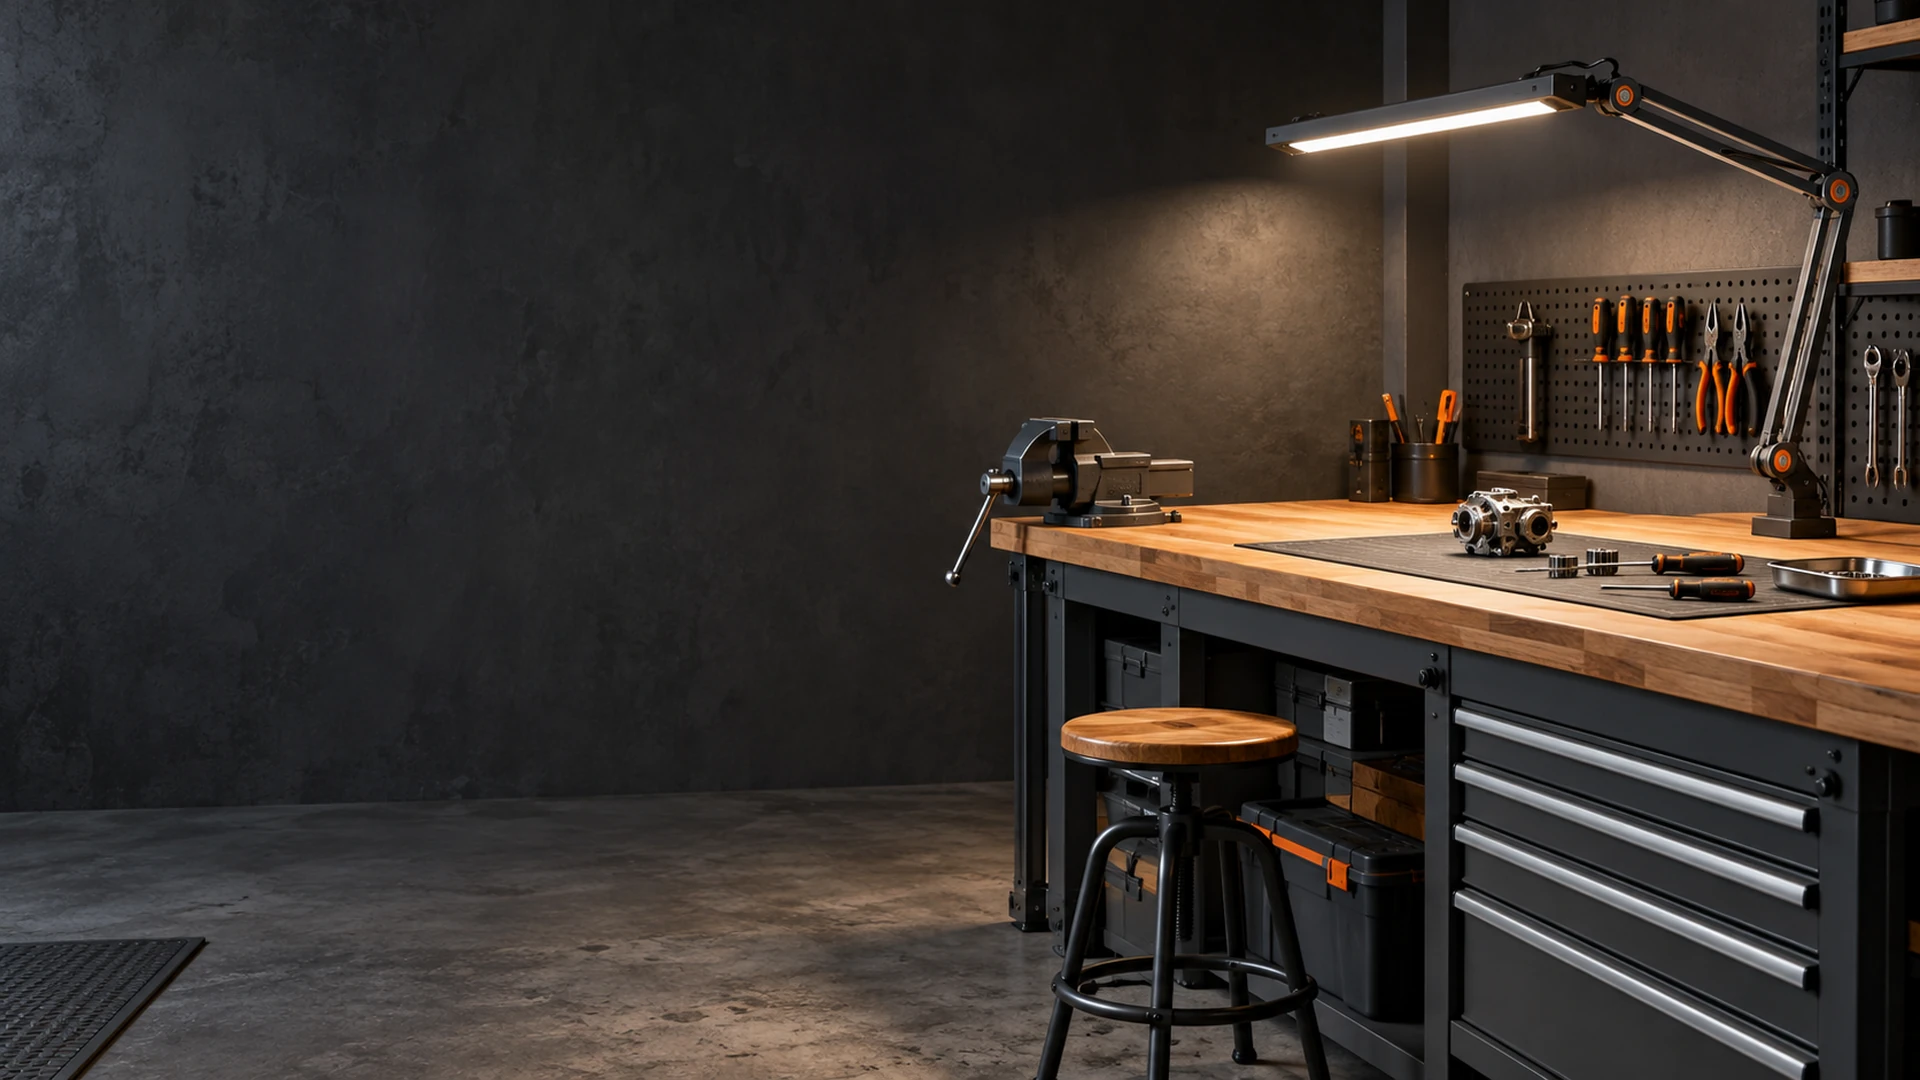
Position a movable task light so hands and tools do not block the beam. Use two light directions for small-parts work when necessary. The IES guidance distinguishes task-surface illuminance from an arbitrary floor reading.
Why use it: Adds local visibility without overlighting the entire room.
Limitation: Poorly aimed task lights can produce glare and hard shadows.
Verification: Measure at the actual work surface and check glare, shadows and electrical fit.
Source guidance for overhead plus bench task light. Layout recommendations must be adapted to the room and tasks.
Machine-side supplemental light
Planning approach 3
Layout concept: Targeted light beside machinery.
Locate additional lighting outside the travel of workpieces and machinery. Test sight lines with the operator standing in the normal position. OSHA highlights adequate direction, distribution and control of glare and shadows for sawmill work areas.
Why use it: Illuminates cut lines and controls that ceiling fixtures may miss.
Limitation: Fixtures and cables must not interfere with guards or moving stock.
Verification: Measure at the actual work surface and check glare, shadows and electrical fit.
Source guidance for machine-side supplemental light. Layout recommendations must be adapted to the room and tasks.
Linkable multi-fixture rows
Planning approach 4
Layout concept: Linked fixture runs.
For a long narrow shop, arrange compatible linkable fixtures along the working axis, then verify the total wattage, manufacturer maximum linked units and branch-circuit conditions. Never assume all 4-foot fixtures use the same connectors.
Why use it: Simplifies repeated fixture spacing and coordinated switching.
Limitation: Maximum linked count is model-specific; not every fixture supports linking.
Verification: Measure at the actual work surface and check glare, shadows and electrical fit.
Source guidance for linkable multi-fixture rows. Layout recommendations must be adapted to the room and tasks.
Six steps for a useful lighting layout
Mark benches, saws, assembly surfaces, doors, storage and aisles before choosing fixture locations.
Use a light meter at the workbench or machine work plane, not only at the floor.
Stand at each station and move your hands and a typical workpiece through the working area.
Avoid exposed bright emitters in normal sight lines and reflections off metal surfaces.
Check plug-in versus hardwired fixtures, switching, listed mounting methods and linked-unit limits.
Test several points and corners under the same conditions; reposition fixtures where dark spots remain.
How to plan workshop fixture spacing
Map the usable work area
Separate the actual active work zone from storage and vehicle parking. A single room-average target can hide a dark bench.
Choose a starting fixture grid
Use manufacturer beam patterns and mounting heights to estimate spacing; do not assume identical output means identical coverage.
Adjust using measurements
Check the work plane with a light meter and reposition or add task lighting where shadows and contrast persist.
Why published capacities can mislead
Choose fixture positions using task-plane measurements and published mounting guidance.
Compare lighting fixtures for your planned layout
Choose fixtures only after defining the working zones, mounting method and task-lighting needs.
Compare Current OptionsReview Layout OptionsHow this workshop lighting layout guide was researched
We used DOE lighting design guidance, IES illuminance guidance and OSHA material on work-area lighting and shadow control. We did not perform a site-specific photometric simulation.
Evidence and scope
The Department of Energy describes light output, efficacy and application-specific design; the IES publishes maintained illuminance criteria for task surfaces.
OSHA construction illumination tables include 10 foot-candles for general shops in that regulated context. That is a context-specific minimum, not a universal home-shop design target.
Why measurements matter
- Identify work surfaces and task complexity before setting targets.
- Compare lumens (fixture output) with lux or foot-candles (surface illuminance).
- Check uniformity, shadows and direct/reflected glare.
- Use published photometric distribution and mounting data where available.
- Validate with a meter after installation and adjust locally.
Three useful lighting numbers and conversions
These figures explain measurement units; they do not prescribe a fixture count for every workshop.
The OSHA figure is not a recommended home-workshop target and does not replace applicable codes or IES task-specific guidance. Measure illumination at multiple points.
Match lighting layers to workshop tasks
A layout that works for open-floor assembly may fail at a deep bench or under a machine hood.
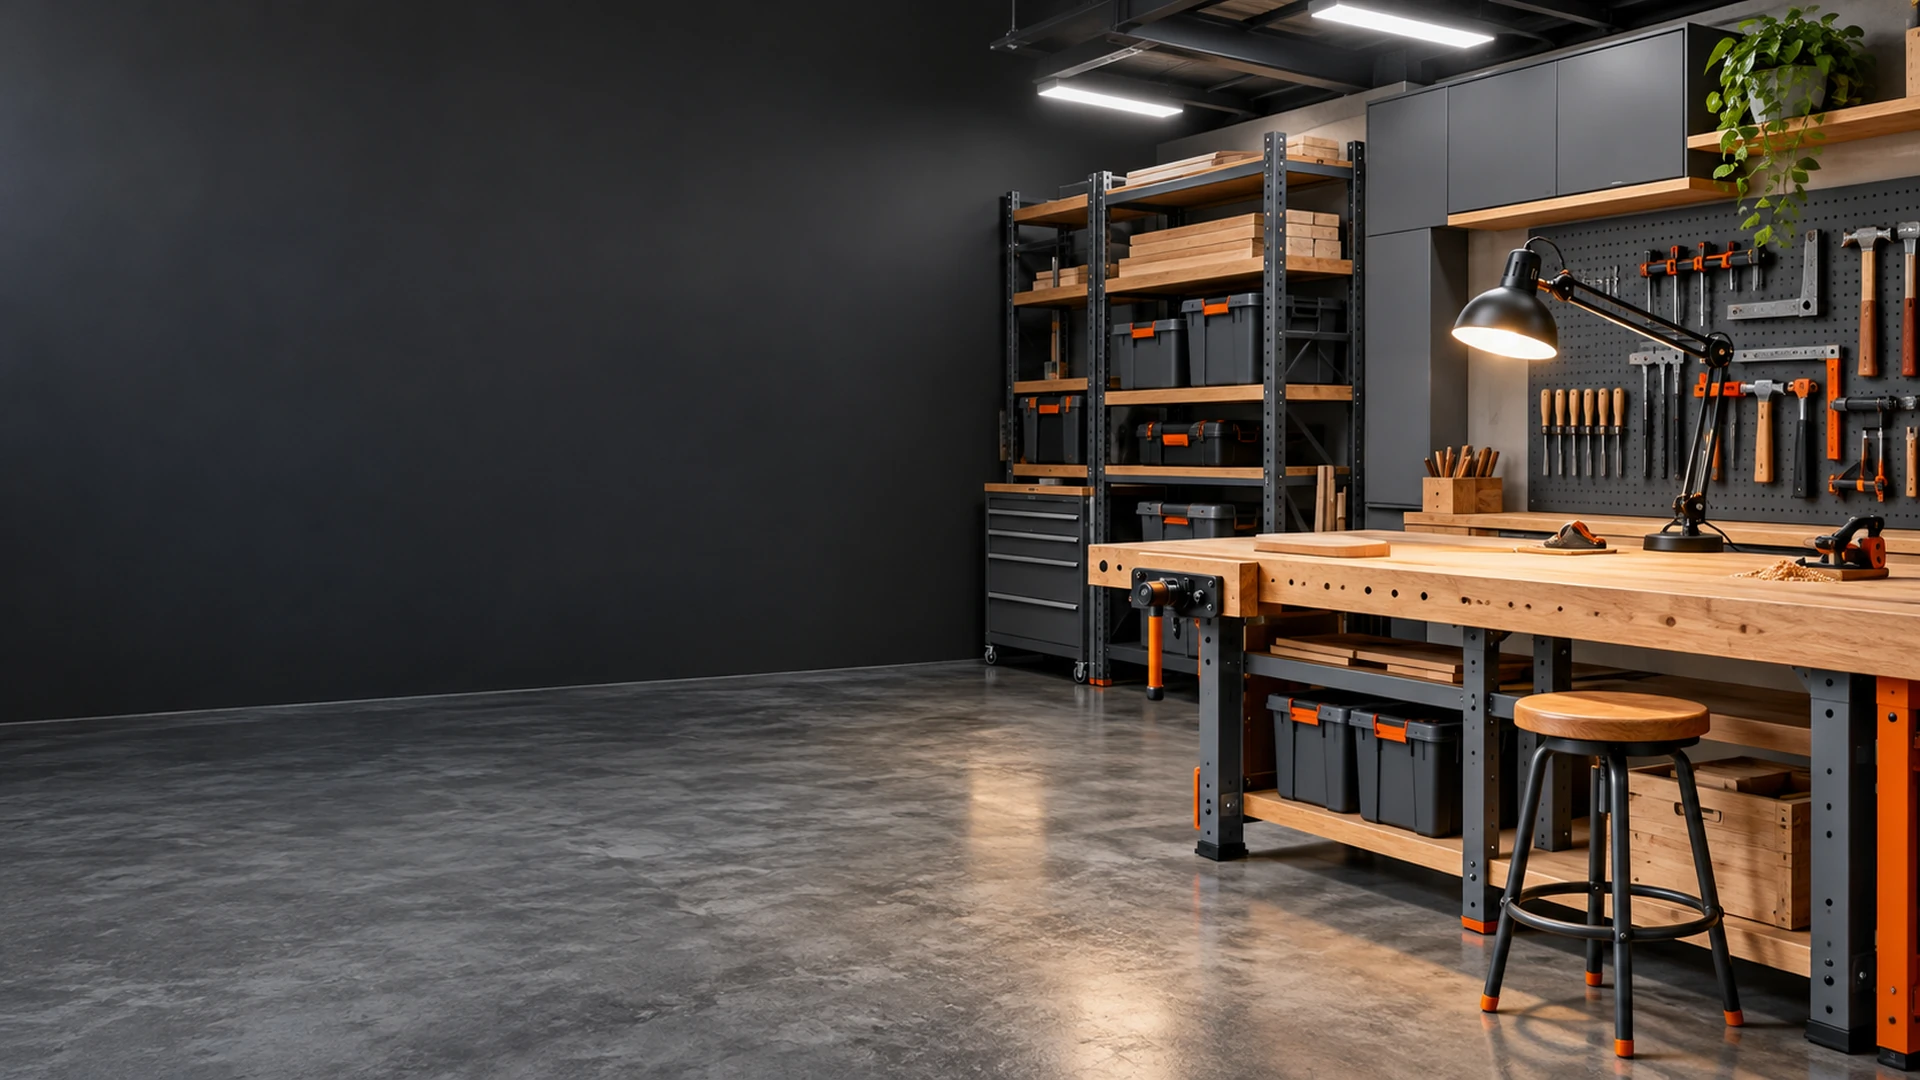
Spread overhead fixtures to reduce isolated bright and dark bands.
Review overhead layoutPosition local illumination to reveal small features without glare.
Review bench lightingSupplement ceiling lighting where operator and workpiece block the beam.
Review machine lightingCheck connector compatibility, maximum linked count and circuit loading.
Review linked fixturesFive lighting layout mistakes to avoid
Fixture output does not tell you the illuminance at the bench after distance, beam spread and obstruction losses.
One central light can create harsh contrasts and shadows at peripheral workstations.
Stand in the normal working position and test how your body blocks the light before mounting fixtures.
Follow the exact manufacturer limit and connector system; do not improvise electrical connections.
Check work-plane illumination and glare after installation rather than assuming the plan performed as expected.
Workshop lighting layout FAQs
How far apart should workshop LED lights be?
There is no universal spacing. Ceiling height, fixture beam distribution, reflectance and task location determine spacing. Start with manufacturer photometric guidance and verify at the work surface.
How do I calculate how many shop lights I need?
Estimate the work-area illumination requirement, then use actual fixture photometric data and room conditions. A simple total-lumens division is only a rough preliminary estimate.
Should lights be centered over a workbench?
Not always. Centered fixtures can put the operator in the beam path. Offset or supplement lighting to reduce shadows and glare.
Is 10 foot-candles enough for detailed woodworking?
The OSHA construction table gives 10 foot-candles as a general-shop minimum where applicable, not a target for fine detail. Use task-specific IES guidance and on-site measurement.
Where should I measure workshop illumination?
At the actual working plane, such as the bench surface or machine table, and at several locations across the task area.
Do linkable shop lights need a separate circuit?
Not necessarily. Follow the fixture manufacturer limits, total connected load, wiring rules and circuit capacity. Hardwired changes may require an electrician.
What is the difference between lumens and lux?
Lumens describe light emitted by a source; lux describes how much light reaches a surface. One foot-candle is approximately 10.76 lux.
Related workshop lighting guides
Research notes & specification sources
Research basis. This layout guide synthesizes published DOE, IES and OSHA guidance. It is not a fixture test or custom lighting design. Verify local code and manufacturer installation requirements.
- DOE: Industrial LED luminaire selection and lighting design
- IES: Task-surface illuminance criteria
- OSHA: Construction illumination requirements and general-shop table
- OSHA: Distribution, glare and shadows in work areas
Affiliate links open relevant product searches. External source links are informational.